How to Enter a Loan in QuickBooks
Contents
If you’re looking for instructions on how to enter a loan in QuickBooks, you’ve come to the right place. In this blog post, we’ll walk you through the steps you need to take to get this done.
Checkout this video:
Open QuickBooks and go to the Company menu. Select “Company Info” from the drop-down menu. In the “Company Information” window, click on the “Accountant & Taxes” tab. On the “Accountant & Taxes” tab, select “Loan Manager” from the drop-down menu. In the “Loan Manager” window, click on the “Add Loan” button.
Enter the loan amount, and then select the loan account from the “Account” drop-down menu. If you don’t have a loan account set up yet, you can create one by selecting “Create New” from the “Account” drop-down menu.
In the “Payment Terms” section, enter the interest rate and the number of months for the loan. In the “Payment Options” section, choose whether you want to make equal payments or variable payments. If you choose variable payments, you’ll need to enter the minimum payment amount.
Click “OK” to save your changes.
Enter the loan amount, interest rate, and term in the appropriate fields.
Entering a loan in QuickBooks is a relatively simple process. You’ll need to enter the loan amount, interest rate, and term in the appropriate fields. You can also add additional details, such as the loan origination date and balloon payment information.
Once you’ve entered all the relevant information, QuickBooks will calculate the monthly payment amount for you. You can then enter this amount into your QuickBooks file as a recurring transaction. This will ensure that your loan payments are properly recorded and tracked in QuickBooks.
Select the account that the loan will be paid from.
In QuickBooks, you can track loans from individuals or financial institutions. You can also track the draw schedule and payments made on the loan. This article will show you how to enter a loan in QuickBooks.
1. Select the account that the loan will be paid from. The account could be a checking, savings, or money market account.
2. Enter the date of the loan in the “Date” field.
3. In the “Payee” field, enter the name of the person or institution that is lending you the money.
4. Enter the amount of the loan in the “Amount” field.
5. In the “Category” field, select “Loan.” This will ensure that the transaction is properly categorized for tax and accounting purposes.
6. In the “Memo” field, enter a brief description of the loan, such as “Personal Loan from John Smith.” This will help you identify the transaction later on.
7. Click “OK” to save the transaction.
Enter the name of the lender in the “Lender” field.
In the “Lender” field, type the name of the lender. This is the name of the entity that provided you with the loan. For example, if you took out a loan from your local bank, the name of the lender would be your local bank.
Click “OK” to save the loan.
You’ve just received a loan from the bank to help grow your small business. Now you need to enter the loan into QuickBooks so that you can keep track of it and make payments. Here’s how to do it:
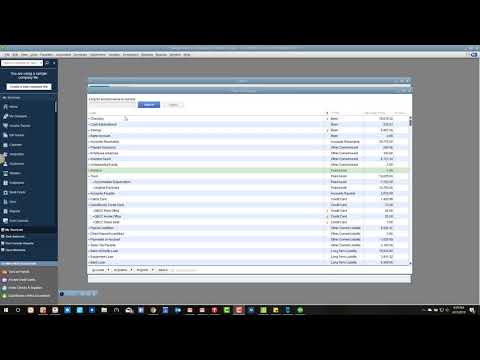
1. Open QuickBooks and go to the “Lists” menu.
2. Click on “Chart of Accounts.”
3. Click the “Account” menu and select “New.”
4. Select “Liability” as the account type and click “Continue.”
5. Enter the name of the loan, such as “Bank Loan,” in the “Name” field.
6. In the “Opening Balance” field, enter the amount of the loan.
7. Select the account type from the “Account Type” drop-down menu.
8. Select the appropriate tax form for the loan from the “Tax Status” drop-down menu and click “OK.”
9. Click on the newly created liability account to open it.
10. Click on the “Edit” menu and select “Enter Transactions.”
11. In the first row of transactions, select “Loan Payment” from the drop-down menu in the first column and enter today’s date in second column . In column three, enter any additional information about this payment in QuickBooks terms refer to your loan documentation). In column four, enter Click “OK” to save