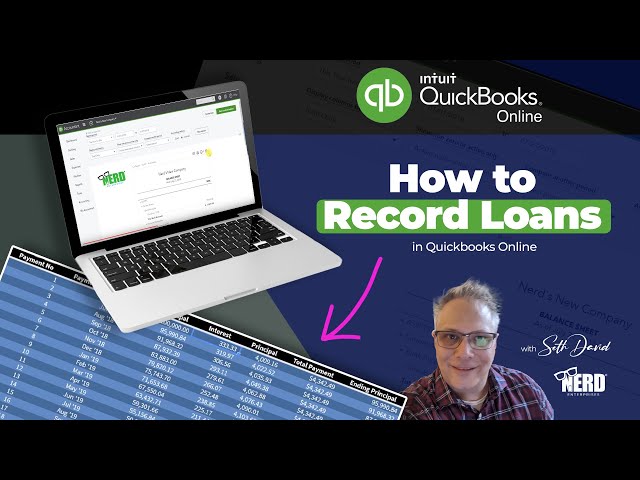
How to Record a Loan in QuickBooks
Contents
You can record a loan in QuickBooks by following these simple steps. This will help you keep track of your payments and make sure you don’t miss any deadlines.
Checkout this video:

Introduction
QuickBooks is business accounting software that helps you manage your finances, including loans. If you’ve recently taken out a loan, you’ll need to record it in QuickBooks so that you can track your payments and interest owed. This guide will show you how to do just that.
What is a loan?
A loan is simply an amount of money that is borrowed and then needs to be repaid over time, usually with interest. Loans can be taken out for a variety of reasons, such as to consolidate debt, finance a large purchase, or for other reasons. If you have QuickBooks Online, there are a couple of different ways that you can record a loan in your books.
What are the different types of loans?
There are many types of loans available, each with different terms and conditions. The most common types of loans are:
-Secured loans: A secured loan is a loan that is backed by an asset, such as a car, boat, or house. The asset is used as collateral, which means that if you default on the loan, the lender can take possession of the asset.
-Unsecured loans: An unsecured loan is not backed by an asset. This means that if you default on the loan, the lender cannot take possession of your assets.
-Fixed-rate loans: A fixed-rate loan has an interest rate that remains the same for the life of the loan.
-Variable-rate loans: A variable-rate loan has an interest rate that can change over time.
How to record a loan in QuickBooks?
You’ll need to set up a few things in QuickBooks before you can record a loan, including the accounts that will be affected by the loan and the terms of the loan. Once you have everything set up, you can record the loan in QuickBooks by following these steps.
Set up a loan account
In order to track your loans in QuickBooks, you will first need to set up a loan account. To do this, go to the Company menu and select Chart of Accounts. Then, click the New button and select Loan from the Account Type drop-down menu. Enter all of the relevant information for your loan into the appropriate fields and click Save & Close.
Set up a loan payment schedule
Create a loan schedule to track your payments. This will ensure that you make all payments on time and in full. To set up a loan schedule:
1. Go to the Lists menu and select Loans.
2. Click the Payees tab and click New Loan.
3. Enter the name of the lender, the interest rate, and the amount of money you borrowed.
4. In the Payment Schedule section, enter the date of your first payment and how often you’ll make payments.
5. Click Save & Close when you’re done.
Set up a loan repayment schedule
In order to create a loan repayment schedule in QuickBooks, you will need to set up a few things first:
-A loan account in QuickBooks (if you haven’t already)
-The principle amount of the loan
-The interest rate of the loan
-The length of time for repayment (in months)
-The date of the first loan payment
Once you have all of this information, you can follow these steps to set up your repayment schedule:
1. Open QuickBooks and go to the Lists menu.
2. Select Chart of Accounts from the Lists menu.
3. Select New from the Chart of Accounts window.
4. Type in a name for your new account (e.g., “Loan Repayment Schedule”) and select Loan from the Account Type dropdown menu.
5. Click on the Continue button.
6. Enter in the principle amount of your loan and click on the OK button.
7. From the Account window, select Finance Charges from the Category dropdown menu and click on Enter Body Text to enter in your interest rate information. Click on OK when you’re finished. Be sure that you have correctly entered in all information before moving on! QuickBooks can be very particular about numbers and formatting.
8a.”Type” should be set to “Simple Interest.” If it’s not, click on Edit > Preferences > Loans > Company Preferences and check that it is set correctly here as well b.”Days between payments” should be set at 0 unless your loan has monthly payments; if so, this should be changed to 1.”Use daily interest accrual” should also be checked c.”Payments begin after grace period expires” depends on whether or not you want interest to accrue during any sort of introductory period where no payments are required d.”Enter first payment date” is important because this is when interest will begin to accrue e.”Amortize over number of payments” should be equal to the number of monthly payments that are required to pay off the loan in full 7a.”Group items by day/week/month/class/etc:” if tracking classes is important to you or if you need further break down than what’s available by default b.”Transaction date:” this should always be equal to “Posting date””Memo:” while not required, this may help you keep track of what each payment is for (e.g., principal, interest, etc.) 8.’Add another column for:’ depending on what’s most important for tracking purposes, feel free to add any other columns that will help 9.’Display total balance after each transaction:’ we recommend checking this box so that it’s easy to see how much is left owing on the loan with each payment 10.’Running balance’: by default, this will show as a negative number since it is money that you owe; however, some people prefer it as a positive number since it represents money that will eventually come back into their business once the loan is paid off 11.’Click here for additional options…’: depending on how well QuickBooks tracks changes in currency exchange rates, there may be some benefit in checking this box; however, it will add an extra step each time a payment is made 12.’Select terms…’: again, depending on how well QuickBooks tracks changes in currency exchange rates, there may be some benefit To selecting URRterms; however 14.’Number after decimal point:’ most often 0 or 1 are used 15.’Click OK when done’: once everything looks good,’OK’ 16.’Save & Close’: once satisfied with everything,’Save & Close’ 17.’Add another line item if needed: No thanks’>’OK’ Your transactions should now look something like this:
Conclusion
To conclude, recording a loan in QuickBooks is a relatively simple process. You will first need to create a loan account and then enter the relevant information into QuickBooks. Once the loan is recorded, you can then make payments on the loan and track its progress over time.