How to Enter a Loan in Quickbooks
Contents
How to Enter a Loan in Quickbooks- Step by Step instructions for setting up a loan in Quickbooks
Checkout this video:
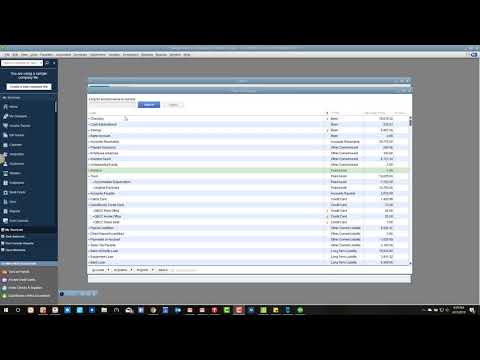
Open QuickBooks and go to the Company menu. Select “Chart of Accounts” from the list.
Click the “Accounts” button at the top of the screen and then select “New.”
Choose “Liability” from the Account Type drop-down menu.
Enter a name for the account in the Account Name field. For example, you could name it “Bank Loan.”
Click “OK” to save the account.
Select Company Information and then click on the Loans tab.
1. Select Company Information and then click on the Loans tab.
2. Enter the name of the lender, the account number, and the interest rate in the appropriate fields.
3. Choose whether this is a long-term or short-term loan.
4. Select the start date and enter the number of payments you will make.
5. Choose whether to amortize the loan or not.
6. Enter the amount of the loan in the “Amount” field.
7. Click “OK” to save your changes.
Enter the loan amount, interest rate, and term of the loan.
In QuickBooks, go to the Company menu and select Make General Journal Entries. In the first line of the journal entry, enter the loan amount as a negative number in the debit column. In the second line, enter the interest rate on the loan in the credit column. In the third line, enter the term of the loan in months in the credit column. Save and close the journal entry.
After you have entered all the loan information, click on the Save & Close button. This will save the loan in Quickbooks and close the dialog box.